A pre-delivery inspection on a 150 cc sport bike that a dealer can defend
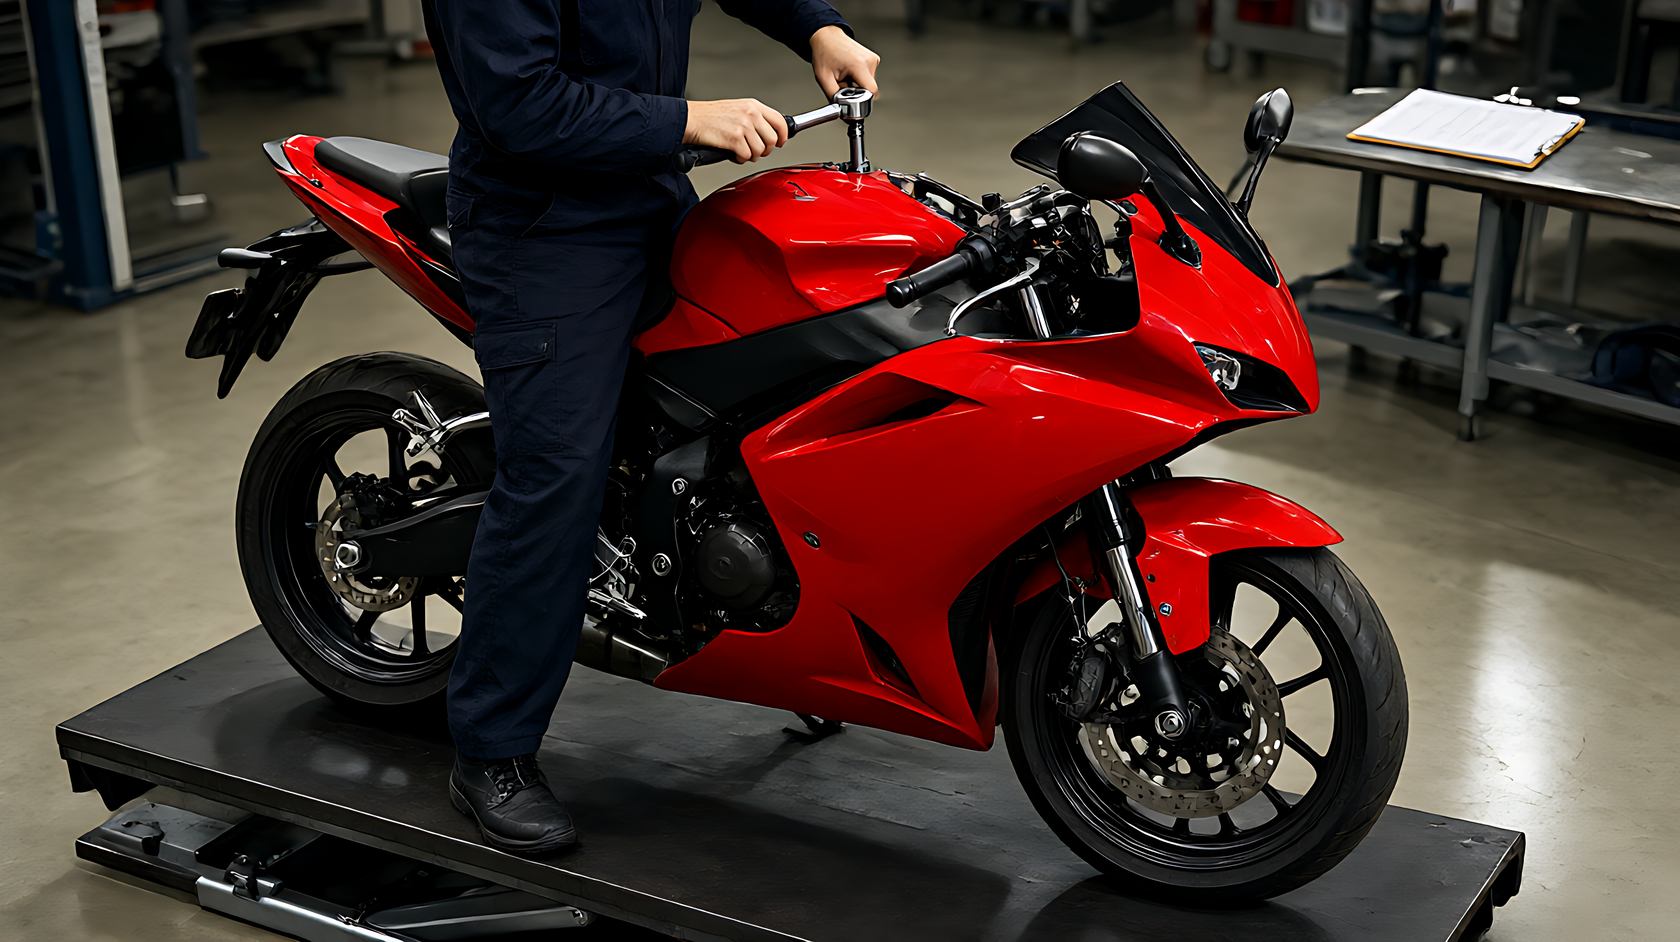
A pre-delivery inspection usually fails for one reason: it is written as a cleaning schedule. The bike is washed, the plastics are polished, the tyre dressing goes on, and the sheet is signed. Nothing on that sheet can be defended six months later when a customer returns with a vibration, a leaking fork seal or a warped disc. A PDI that survives a warranty conversation is a set of measurements with instruments, taken in a fixed order, written into a record that travels with the chassis number.
The sequence below is written for a 150 cc single-cylinder sport model, the volume class that most distributors ship in containers. It assumes the bike arrives crated, assembled by the dealer, and handed to a rider the same week. Every step names the instrument and the acceptance band so that two mechanics on two shifts produce the same sheet.
1. Start with the crate, not the bike
Crate damage explains most of the defects that appear later as assembly problems. Photograph the crate before opening, then check the frame cradle points, the fork legs and the triple clamp for paint transfer. A bike that has been dropped in transit usually shows a scuff on the right bar end and a bent bracket behind the headlight, not a bent frame.
Record the crate number against the chassis number at this point. Container shipments mix production batches, and a batch-level defect such as a dry steering-head bearing will only be visible when you can group the affected chassis numbers later. This is the cheapest quality data a dealer ever collects, and most skip it.
2. The instrument kit that actually gets used
A workable PDI kit is short: a calibrated torque wrench in the 5–60 Nm range, a smaller one for 4–12 Nm fasteners, a dial indicator with a magnetic base, a chain alignment gauge, a tyre pressure gauge with a 0.1 bar resolution, a brake fluid tester, and a laser or straight-edge for wheel alignment. Add a phone camera and a template sheet.
The torque wrench is the instrument that pays for itself. Fasteners on bodywork and engine covers are specified in the service manual at values that are easy to exceed by hand. Over-torqued case bolts crush gaskets and start oil weeps at 3,000 km; under-torqued axle nuts become a recall. Neither is visible on a clean bike.
3. Torque audit on the fasteners that decide warranty claims
Audit six groups, not every bolt: axle nuts front and rear, brake caliper mounting bolts, fork clamp bolts, handlebar clamp, engine mount bolts, and the steering-head nut. Mark each with a paint pen after confirmation, and note the value used. A paint mark that is missing at the next service tells you the fastener moved.
On the 150–200 cc sport platform, the rear axle nut is the one that most often arrives under-tightened from the assembly line, because the same nut is used with two different swingarm widths. Confirm the specified value against the manual for that swingarm, then check that the adjuster plates are seated evenly on both sides before you torque anything.
4. Wheel and brake runout
Mount the dial indicator on the fork leg and measure lateral runout at the rim edge, then axial runout at the disc. A new wheel should sit inside 0.5 mm laterally and a new disc inside 0.15 mm; beyond that, re-seat the wheel and measure again before condemning the part. Transport can knock a disc, but it more often knocks the spacer stack out of order.
Spin the wheel and listen rather than only measuring. A dragging caliper shows as a wheel that stops within one revolution from a light push. If the wheel stops early, crack the bleed nipple briefly; if drag disappears, the issue is hydraulic, not mechanical. That single test separates a warranty claim for a master cylinder from a claim for a disc.
5. Chain alignment and slack
Chain alignment is a two-plane measurement: the rear wheel must be square in the swingarm, and the chain must run straight from the front sprocket to the rear. Use a string line or a laser gauge on the rear sprocket face, then confirm slack at the tightest point of the run, not at the loosest.
Rotate the wheel through four positions and measure slack at each. Variation above 5 mm means the chain has a tight spot from a misaligned sprocket or a manufacturing fault; both cause premature wear and a whine the customer will describe as a gearbox problem. Write the four readings on the sheet.
6. Fluid levels and bleed quality
Brake fluid is hygroscopic; a sealed bike can still arrive with 2–3% moisture if it sat in a humid port. Use a tester at the reservoir and record the reading. Anything above 3% should be flushed before delivery, not after the first complaint about a spongy lever.
Bleed quality is tested by feel and by measurement: pull the lever to a firm point, hold for thirty seconds, and check that it does not creep toward the bar. Then measure fork oil height on both legs with the springs removed if the manual specifies it. Unequal oil height is the most common cause of a front end that feels vague at 80 km/h.
7. Electrical self-test and instrument check
Key on, kill switch on, neutral engaged: confirm the instrument sweep, the neutral lamp, the oil pressure lamp extinguishing within three seconds of start, and the headlight pattern against a wall at three metres. A low beam aimed at the treetops is an inspection failure in most markets, and it is adjustable in two minutes.
Check the charging system at idle and at 3,000 rpm: a healthy 12 V system holds 13.8–14.6 V at the battery terminals. Below 13.2 V at 3,000 rpm, the regulator or the stator connection is suspect. Record both readings, because a battery that fails at 1,500 km is usually a charging fault that was present on day one.
8. Fuel system and idle stability
Start the engine cold and let it idle for two minutes without touching the throttle. A 150 cc single should hold idle within ±100 rpm of the specified value once warm. Hunt or a slow drop toward stall points to a throttle body that needs a base idle reset or a valve clearance that left the factory at the tight end.
Then snap the throttle from idle to a third open and release. The engine should return to idle without hanging. A hanging idle on a new bike is usually an air leak at the intake boot, and it will be blamed on the fuel injection system for the next two years if it is not recorded now.
9. The road test script
A PDI road test is a script, not a ride. Two kilometres: accelerate through three gears at half throttle, brake to a stop from 50 km/h with the front only, then both, then run a slow weave at 30 km/h. Each step tests one system, and each step gets a line on the sheet with a pass or fail.
Listen for three specific noises: a tick from the top end when cold, a clunk from the steering head over expansion joints, and a rattle from the rear caliper bracket. Each has a known cause and a known fix, and each is cheap to fix before delivery and expensive after the first service.
10. What belongs in the PDI record
The record should hold: chassis and engine numbers, crate number, torque values for the six audited groups, runout figures, four chain slack readings, brake fluid moisture, battery voltage at idle and 3,000 rpm, idle speed, road test result, and the name of the technician who signed. One page, no prose.
Keep the photos with the record, not in a phone. A dealer who can produce a crate photo and a torque sheet within ten minutes of a complaint closes most warranty arguments without a factory visit. That is the entire return on the PDI routine.
11. Failures that show up in the first two hundred units
Across early production batches of a new 150 cc sport model, the repeat offenders are consistent: steering-head bearings dry from the factory, rear axle nuts under-torqued, front discs with 0.2 mm of lateral runout, and intake boots that leak after the first heat cycle. None of these are visible at a glance, and all four are measurable in under an hour per bike.
Recording them turns a dealer into a data source for the factory. When the same measurement fails on eleven of two hundred units, the fix belongs upstream in assembly, not in a dealer workshop. Pre-delivery inspection is therefore also a feedback instrument for the model page itself.
Frequently asked questions
How long should a PDI take? On a 150 cc single with a fixed script, between 55 and 75 minutes, of which twenty are the torque and runout measurements. Anything under thirty minutes is a wash and a signature.
Do I need a dial indicator? For volume work, yes. A magnetic-base indicator with 0.01 mm resolution costs less than one warranty disc replacement and settles arguments about runout in a single measurement.
Should the PDI be done before or after the customer deposit? Before. A deposit creates pressure to deliver a bike that should have been rejected at the crate stage, and that pressure is how defective units reach the road.
What if a measurement is marginal? Record it, deliver it, and re-measure at the first service. A marginal reading with a written baseline is defensible; a missing reading is not.