Thermal testing the charge path: port, cable, charger and pack
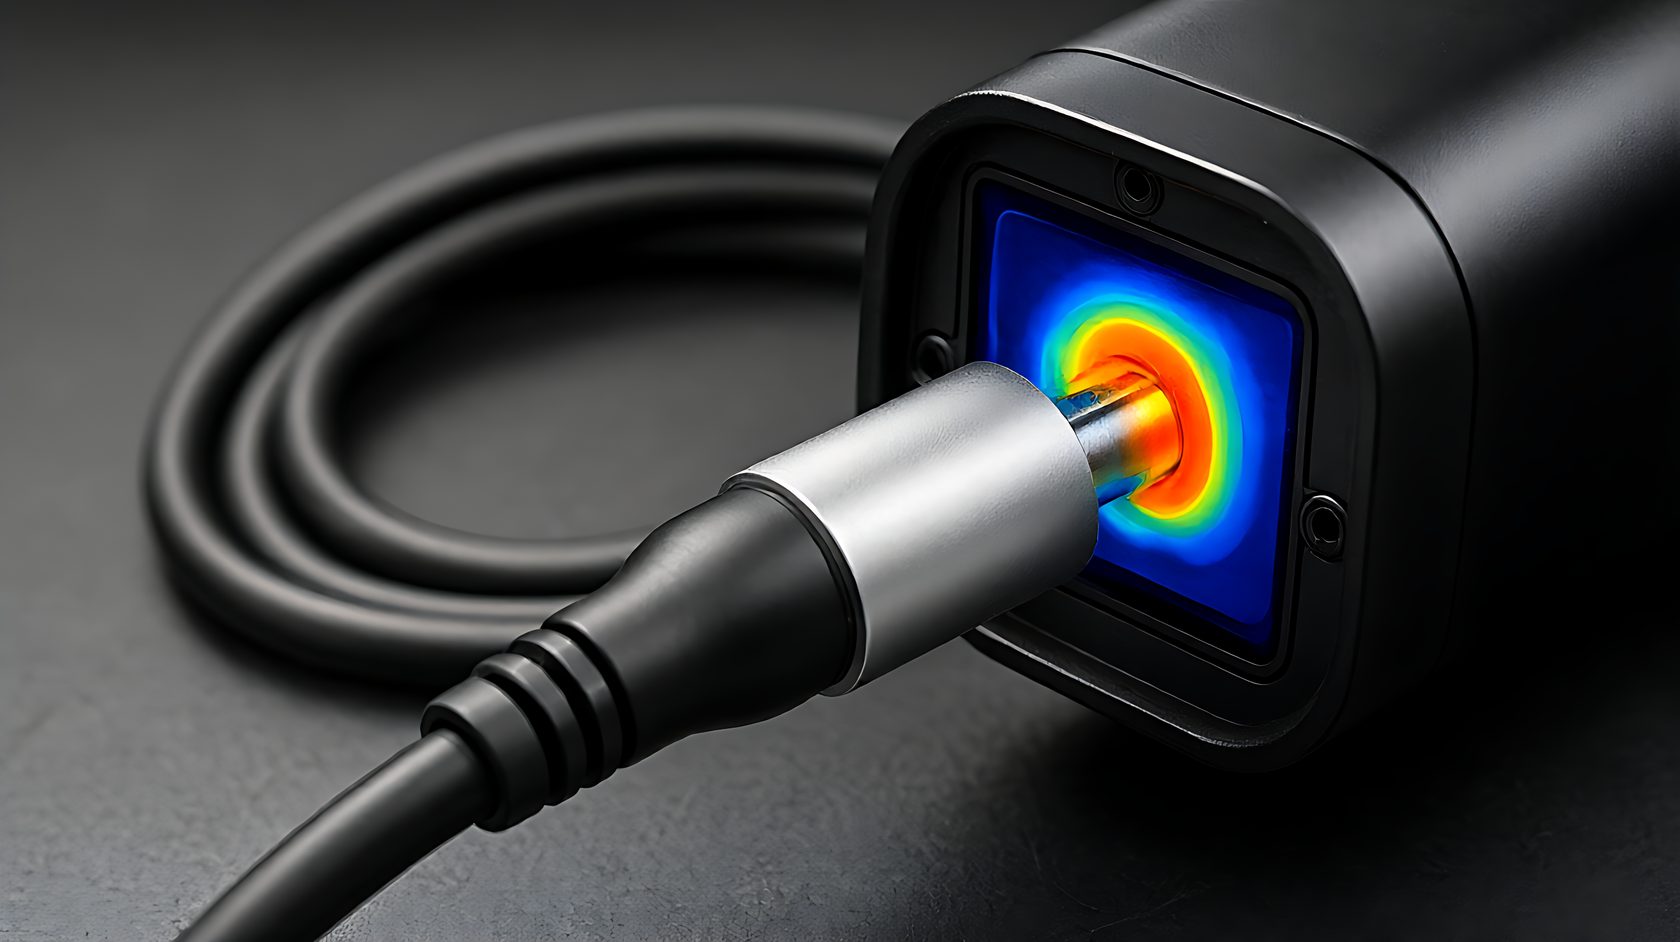
Almost every e-bike pack fire starts in the charge path, not in the cells. A port with high contact resistance heats, softens its housing, and eventually arcs; a charger that terminates late keeps pushing current into a full pack; a cable that is undersized for the current does both. Each of those is measurable, and each of those is measurable before the bike leaves the warehouse.
This note sets out a thermal test routine for the charge path on a commuter e-bike model, covering the port, the cable, the charger and the pack's response. It needs a thermal camera or a contact thermometer, a clamp meter, and about forty minutes per sampled unit.
1. Why the charge path is the weak point
Discharge current flows for minutes at a time and the system is designed around it. Charge current flows for hours, often unattended, often in a warm room, often through a connector that the rider plugs in twice a day. The duty cycle is longer, the supervision is lower, and the connector is the cheapest part in the system.
That combination is why charge-port failures outnumber cell failures in field data. It also explains why the fix is usually mechanical rather than electronic: better contacts, better housings, and a charger that stops when it should.
2. Contact resistance of the port
Measure the voltage drop across the port at the rated charge current, from the charger output to the pack terminals. A drop above 0.3 V at 4 A indicates a contact resistance that will heat. Clean the contacts, re-seat, and measure again before condemning the port; a port that improves after cleaning was contaminated, not defective.
Repeat the measurement after twenty plug cycles on a sample unit. A port whose drop grows from 0.1 V to 0.4 V over twenty cycles has contacts that are wearing, and it will reach a dangerous resistance within a season of daily use. Twenty cycles take ten minutes and predict a year of behaviour.
3. Temperature rise at the port
Charge at rated current for thirty minutes and measure the port housing temperature with a contact probe, or image it with a thermal camera. A rise above 20 kelvin over ambient at the housing is a port that needs a better contact or a larger housing; above 30 kelvin it should not ship.
Measure the pin temperature indirectly by measuring the housing near the pin, and measure the cable jacket at the strain relief. The strain relief is where cables break and where heat concentrates when the conductor is undersized.
4. Cable sizing and the fold test
Check the conductor cross-section against the charge current. A 2 A charger can live with a thin cable; a 4 A charger cannot. Measure the jacket temperature at the middle of the cable and at the strain relief, and compare both against the cable's rated temperature.
Then fold the cable at the strain relief as it would fold in a basket or a bag, and charge again. A cable that heats only when folded has a broken conductor strand, and it will fail completely within weeks. This test catches the defect that a straight-cable bench test always misses.
5. Charger output and termination
Measure the charger's output voltage and current with calibrated instruments at three points: start of charge, during the constant-current phase, and at termination. Compare the termination voltage against the pack specification, not against the label on the charger.
Then measure the charger's case temperature at thirty minutes. A charger that runs hot at rated output is either inefficient or poorly ventilated, and both shorten its life. Chargers are the part riders leave plugged in overnight, so a charger that runs at 60 degrees in a closed room is a charger that will be blamed for a pack failure it did not cause.
6. The pack's response
Log the pack voltage and current during charge and confirm that the BMS balances during the constant-voltage phase. A pack that reaches full voltage and stops balancing will drift, and drift is what produces the group that fails first. Watch the balance current or the group voltages if the BMS reports them.
Measure pack surface temperature during charge. A pack that warms more than 10 kelvin above ambient during a normal charge is either balancing heavily or has a cell with elevated internal resistance. Either way, it deserves a capacity test before delivery.
7. Port mechanical design
Inspect the port for a keyed plug, a cover, and a drain path. A port that accepts the plug in two orientations will eventually be plugged in backwards, and reverse polarity protection is not universal on commuter chargers. A cover that seals is the difference between a port that survives a winter and one that corrodes.
Check the port's mounting: a port that moves when the plug is inserted stresses its solder joints. Wiggle the plug gently while measuring contact resistance. A port whose resistance changes when the plug is moved is a port with a failing joint, and it will arc.
8. Field failures that trace back to the port
Three field failures trace to the charge path: a port that melts, a charger that dies, and a pack that swells. The first is contact resistance, the second is a charger run at its thermal limit, and the third is overcharge from a charger that terminates late. All three are visible in a forty-minute bench routine.
A distributor who tests one unit per shipment and records the numbers can show a supplier exactly where the margin is thin, which is usually more effective than a warranty claim with photographs of a melted connector.
9. Charging instructions that reduce risk
Give the rider three instructions that actually change outcomes: charge on a non-flammable surface, do not charge immediately after a ride while the pack is hot, and do not leave a charger connected for days after the light turns green. Each of these reduces the time the pack spends at full voltage and elevated temperature.
Print those three instructions on a card that goes with the charger, not in a manual that stays in the box. Riders read what they hold at the socket, and the card is the cheapest safety intervention in the entire charge path.
Add a fourth for fleets: charge in a room with detection, not in a corridor. Charge-path fires are small at first and become large quickly, and a detector buys the minutes that matter.
10. The record
Record port voltage drop at rated current and after twenty cycles, port housing temperature rise, cable strain-relief temperature, charger output at three points and case temperature, pack surface temperature rise, balance behaviour, and the decision.
Keep the thermal images with the record. A thermal image of a port at 55 degrees is more persuasive than any written description, and it is the document a supplier will actually look at.
11. Sample plan for a shipment
For a container of commuter e-bikes, sample three units: one from the first pallet, one from the middle, one from the last. Run the full thermal routine on those three, and run a two-minute port resistance check on every unit at assembly. That plan costs an hour per container.
If the three samples agree, the batch is likely consistent. If one disagrees, expand the sample before shipping, because a port defect that appears on one unit in three usually means a batch of connectors from a different supplier.
12. Labels, standards and the destination market
The charge path is also a compliance object. Chargers and packs carry markings tied to the standards of the destination market, and a charger that ships without the right marking will be refused at the border even if it performs correctly. Photograph the markings on a sample unit and keep them in the file.
Check that the marking on the charger matches the marking on the pack and the declaration in the technical file. Mismatched markings are a recurring finding in border inspections, and they are usually the result of a supplier substituting a charger from a different production run without updating the paperwork.
Finally, check the language of the rider instructions. A charger supplied with instructions in a language the market does not use is a compliance defect in several jurisdictions, and it is the cheapest defect to fix before the container leaves.
Frequently asked questions
Is a warm port normal? Warm is normal; hot is not. A rise of 10 to 15 kelvin at the housing is acceptable on most commuter systems, above 25 kelvin is a design or contact problem.
Can I test with the supplied charger only? Yes for the thermal routine, but measure the charger's output with a meter. The charger's own display is not a measurement.
How often should a fleet re-test? Once a year per bike, and whenever a port feels warm to the touch after a normal charge.
What is the cheapest upgrade? A better connector with a keyed plug and a sealed cover. It costs less than one pack and prevents the failure that ends in a claim.