Battery pack acceptance for commuter e-bikes, measured before the first charge
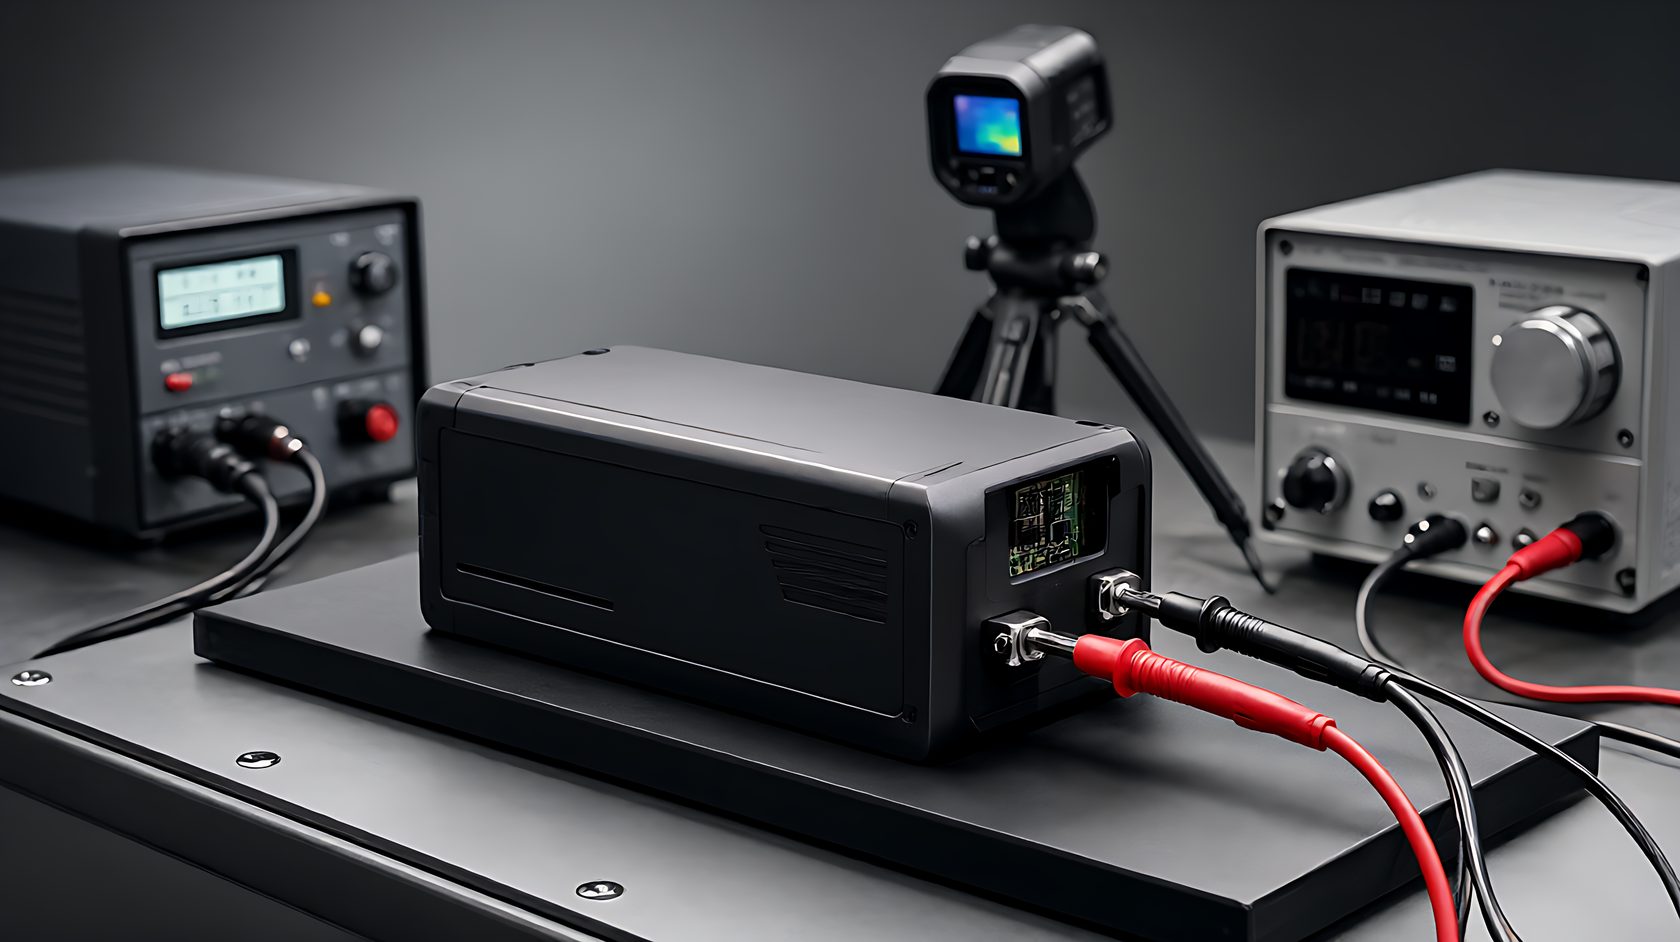
A lithium pack that passes a voltage check can still be a pack that will fail in service. Voltage tells you the pack is assembled; it does not tell you that the cells are matched, that the welds carry current without heating, or that the BMS cuts off where the specification says it should. Acceptance testing is the step that separates a pack from a fire risk.
This note sets out an incoming inspection routine for the 48 V and 60 V packs that go into a commuter e-bike. It assumes a workshop with a programmable load, a four-wire meter, a thermal camera or a contact thermometer, and an hour per pack on a sample basis rather than per unit.
1. What acceptance has to prove
Four claims: the pack delivers its rated capacity within a stated tolerance, the cells are balanced within the BMS balancing window, the protection limits interrupt current where they should, and the current paths do not heat beyond a stated rise. Everything else, including the label, is paperwork.
Those four claims map to four tests, and each test produces a number that goes into a record. A supplier who cannot support those numbers with a batch report is a supplier whose packs you will be re-testing at every shipment.
2. Capacity: a discharge test, not a voltage reading
Charge the pack to the specified cut-off with the supplied charger, rest thirty minutes, then discharge at the rated continuous current to the cut-off voltage while logging watt-hours. Capacity below 95% of nominal on a new pack is a fail; between 95% and 100% is a pass with a note.
Run the test at 25 degrees Celsius if the workshop can hold that temperature, and record the actual temperature. Capacity moves with temperature, and a pack tested in a cold workshop will read low for reasons that have nothing to do with the cells. Two tests at different temperatures are not comparable.
3. Cell balance and the balancing window
Measure every series group after a full charge and a two-hour rest. Groups should sit within 30 mV of each other on a healthy pack; 50 mV on a new pack points to mismatched cells or a weak group that will drift further with age. Record the maximum spread, not only the average.
Then measure again after a partial discharge of about 30%. A pack whose spread grows from 20 mV to 70 mV across that window has a group with lower capacity, and it will be the group that trips the low-voltage cut-off at the end of a long ride. That is the failure riders report as a sudden loss of power at 20% state of charge.
4. BMS protection limits
Test three protections: over-current, over-discharge and short-circuit. Over-current is tested with a programmable load ramp until the BMS opens; record the current at which it opens and compare against the specification. Over-discharge is tested by discharging a single group to the cut-off while watching that the BMS opens before any group goes below the cell manufacturer's minimum.
Short-circuit protection is tested through a calibrated resistance with a current-limited supply, never by shorting the pack directly. A BMS that takes more than a few hundred microseconds to open is a BMS that will let a connector melt. If the specification does not state a time, ask the supplier for it in writing.
5. Weld and busbar quality
Weld quality shows up as heat. Run the pack at rated continuous current for thirty minutes and image the pack with a thermal camera, or measure the temperature at the busbar and weld zones with a contact probe. A rise above 15 kelvin over ambient at the welds indicates resistance that will grow with cycling.
Inspect a sample pack destructively once per batch: open the pack, pull three welds, and look at the nugget size and the tear. A weld that tears out of the cell rather than the strip is a cold weld. Destructive sampling is uncomfortable, and it is the only way to see what the production line actually did.
6. Insulation, water and the enclosure
Measure insulation resistance between the pack terminals and the enclosure at the specified test voltage. Anything below the specification is a pack that will leak current in wet weather. Then check the enclosure seal, the cable glands and the charge port cover, because water enters through those three points far more often than through the cell compartment.
A simple spray test on a sample pack, followed by an insulation re-test, catches most sealing defects. Do not immerse a pack that is not rated for immersion; a test that destroys the sample proves nothing about the batch and costs a pack.
7. Charger compatibility
Test the pack with the charger that ships in the box, and log the charge curve: constant current phase, transition to constant voltage, and the point at which the charger terminates. A charger that terminates at the wrong voltage either undercharges the pack or overcharges it, and both failures show up as balance drift within a hundred cycles.
Measure the charger output voltage with a calibrated meter at termination, not the display on the charger. Charger displays are routinely 0.3 to 0.5 V out, which is enough to shift a 13-series pack from a healthy charge to a damaging one over a few hundred cycles.
8. What a bad batch looks like
Batch-level defects follow patterns: one group consistently low across packs means a cell sorter was out of calibration; capacity consistently 4% low means a cell supplier changed; welds consistently hot means an electrode tip wore out mid-run. None of these are visible on a single pack, and all of them are visible across twenty.
Sample five packs from the start, middle and end of a shipment. Compare medians. When the median moves, the process moved, and the conversation with the supplier becomes technical rather than commercial.
9. Storage and shipping state of charge
Packs ship at 30% to 50% state of charge for safety and regulation. Verify the state of charge on arrival with a capacity check on one pack per shipment, because a pack that shipped full has been through a thermal risk and a pack that shipped empty may have been stored too long at low voltage.
Store packs between 10 and 25 degrees Celsius, away from direct sun, at 30% to 50% state of charge, and re-check every three months. A pack stored at full charge for a year loses capacity permanently, and the loss is not covered by most suppliers' warranties.
10. The acceptance record
One page per sampled pack: serial number, batch, capacity in watt-hours, temperature during test, maximum group spread at full and at 30% discharge, over-current trip point, over-discharge behaviour, weld temperature rise, insulation resistance, charger termination voltage, and the decision.
Keep the discharge curve as a CSV alongside the page. When a pack fails in the field eighteen months later, the curve from acceptance is the baseline that shows whether the failure was gradual or sudden, and that distinction usually decides who pays.
11. Field feedback loop
Every warranty pack that comes back should be tested the same way and compared against its acceptance record. Two or three returns tell you whether the population is drifting or whether a single rider is abusing the pack. Without acceptance data, every return looks identical.
Feed the comparison back to the supplier with serial numbers. Suppliers respond to serial-level evidence because it cannot be argued away as a rider problem, and the response usually improves the next batch without any commercial negotiation.
12. Where acceptance ends and warranty begins
Acceptance data is also warranty evidence. When a pack returns with a capacity loss, the acceptance record shows what it delivered on day one, and that number decides whether the loss is a defect or ordinary ageing. Without it, the conversation starts from the supplier's assumption that the pack was fine when it left.
Agree in the supply contract that acceptance measurements are the reference for warranty. Suppliers who know the reference exists tend to ship packs that pass it, and disputes become arithmetic rather than opinion.
Frequently asked questions
Do I need to test every pack? No. Test every pack for voltage, balance and insulation, and sample the destructive and thermal tests per batch. Full capacity testing on every unit is a production-line activity, not a distributor activity.
How long does a capacity test take? At rated current, a full discharge on a commuter pack takes two to four hours, plus charge and rest time. Plan a bench that can run four packs in parallel.
Is a 30 mV spread acceptable on a new pack? Yes for most commuter packs. Above 50 mV on a new pack, ask for the cell matching report before accepting the batch.
What is the single most useful number? Weld temperature rise at rated current. It predicts the failures that become news stories, and the ones a warranty team can see coming six months before the first return.